How to Fix a Leaky Compression Faucet

If not attended to promptly, a leaky faucet can make your water bill pricier at the end of the month. Other problems it causes are wasted water and constant noise that disrupts your sleep at night.
Luckily, it’s so simple to fix that you don’t even have to get a plumber. Beginners and DIYers alike will be able to pull off the job in no more than 30 minutes.
We’ll be focusing on fixing a leaky compression faucet in this guide. And if you’re ready, continue reading.
Steps to Repair a Leaking Compression Faucet
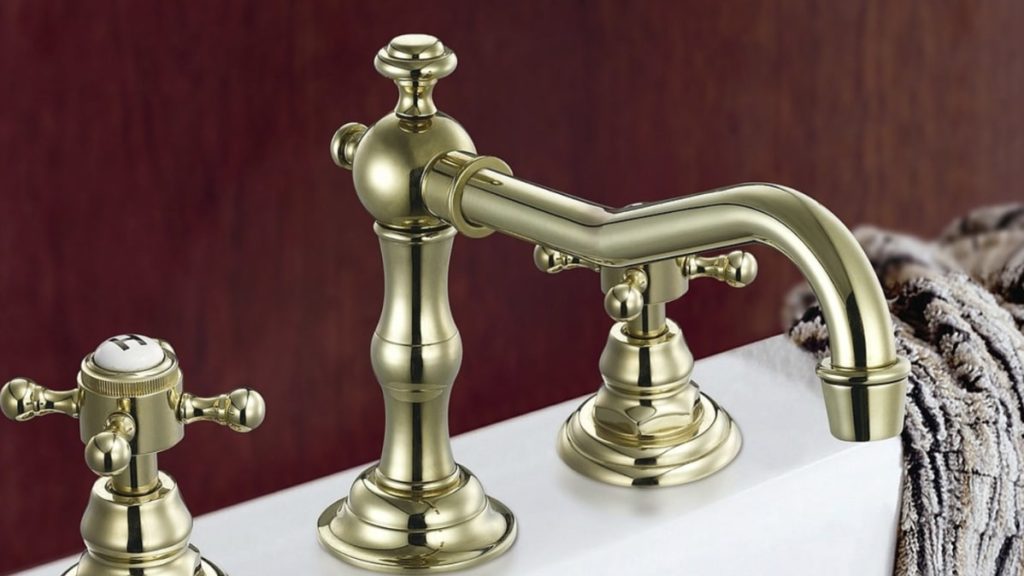
A compression faucet is one of the oldest and most commonly used faucets in domestic and commercial bathrooms and kitchens.
It relies on a rubber sealer which has to be tightened to close or ‘compress’ the water flow, hence the name. An old or torn rubber washer is often the cause of this type of faucet leaking.
So if your compression faucet is dripping, follow the steps below in order to fix it.
1) Turn off the water supply
Unless you want your bathroom to be a mess, the first thing you should do is turn off the water supply to your faucet.
This includes that on the top of the sink and below it where the main water line is connected.
Not closing the water supply is a rookie mistake that you have to avoid. This will make the resulting work cleaner and safer for you.
2) Remove the knob handle of the faucet
You will need a slotted or flat-head screwdriver for this step to remove the handles of your faucet.
Your handle will likely have a decorative crown on top. Simply remove that part and the screw underneath it using the screwdriver.
Proceed to take out the handle by unwinding the screw that attaches the handle to the stem. Afterwards, remove the knob handle.
Then repeat this step for the other side of the faucet.
3) Loosen the packing nut and remove the stem
Get a wrench and loosen the packing nut, which is originally beneath the handle and you should now see.
Pull out or twist out the stem, depending on your faucet model, to remove it. Inspect these parts for any damage.
4) Replace the rubber sealer
If those parts aren’t damaged whatsoever, take a look now at the O-ring or rubber sealer and check if they are worn out or broken.
Both of these two may be the culprit of your faucet leaking continuously. Replace both if you have to while making sure they’re placed correctly and in order.
Now, these two parts—the O-ring and rubber sealer—must be of the right size for their seats. You may have to take them to a hardware store as a sample to buy the correct one.
5) Reassemble the parts
After you have replaced the rubber washer or sealer, you’re done. Reassemble the parts in this order: sealer, O-ring, stem, packing nut, screw, and handle.
Remember to do it carefully and tighten the screws just right to prevent damaging the components inside.
Once that’s done, you can now turn on the faucet gently and see if there’s still any leak coming out of that.
If there is, causes for this can be corroded valve seats, loose parts, or worst of all, damaged plumbing. If that happens, we recommend calling a plumber to make your faucet leak-free again.