How to Make a DIY Wedding Bouquet
Looking to save money or avoid common floral designs? You’re just in time, as we’ll be teaching you how to create your very own DIY wedding bouquet here today!
So, if you’re ready, you can follow the steps outlined below. Very soon, you’ll be walking down the aisle holding your favourite arrangement symbolistic of you and your partner’s love.
1) Buy your preferred flowers
Unless you can grow flowers in a garden or meadow, there’s no escape from spending some cash. Most people will still have to purchase flowers and foliage from a local or overseas florist.
The good news is that you can purchase bulk flowers at a discount. That is, if you’re planning to make plenty of wedding posies and bouquets for your entourage, reception table, or family to take home.
But, before that, you have to form an idea of what sorts of flowers you want and how many you need. Also, imagine their colours and textures as well as the overall style and size you want.
Since you’d have to wait until you get the flowers before you can work on your DIY wedding bouquet, it’s always smart to time your purchase in advance.
Now, once you have decided on your dream flowers and greenery, go online, look for the best price, and make the buy.
2) Gather your resources
Step two involves getting all your team and materials together.
You can either go solo or enlist the help of your friends, family, colleagues, and/or wedding party guests. The latter option will make the work faster and is one way for them to bond and share in the celebration of your special day.
In addition, here are the materials you would need to create your dream custom wedding flowers:
- 19-litre gallon buckets
- Flower food
- Gardening gloves
- Floral scissors
- Floral wire/rubber band
- Floral tape
- Ribbon
- Pins
- Thorn stripper
3) Take care of the flowers

When the wholesale blossoms and greenery arrive at your door, proceed to take care of the flowers. You can’t skip to the flower design part just yet, otherwise, some flowers will dry up or wilt.
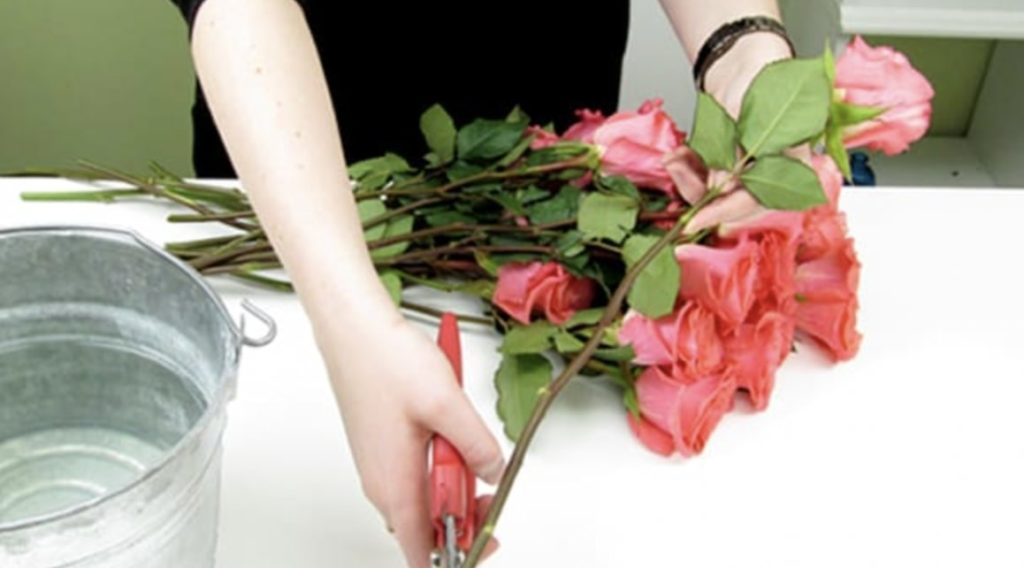
You have to diagonally cut each flower stem first to increase the surface area for them to drink water.
Remove any leaves that fall or are about to in the water because they can contaminate the water with bacteria. Then, place them in a bucket with cool or lukewarm water and add the given flower food.
Every two to three days, you have to take out all the flowers, soap and rinse the bucket, and replace the water with a clean one to ensure they will bloom and last through your wedding day or the days after.
4) Design your wedding bouquet
Great job, your flowers should be fresh and beautiful right now. Now, you can lay out your chosen individual flowers on a dry soft cloth to protect them from staining the table.
To begin designing, you have to start with the foliage instead of the blooms. This sets up the look and structure of your bouquet.
Some lovely greenery you can use are eucalyptus, myrtle, lemon leaf, and Ruscus. It depends on what style and finish you want your arrangement to have.
5) Include focal flowers

You can now add your favourite flowers to the greenery you hold in your hand. We suggest choosing large blooms because these will be the star of the show of your wedding bouquet in the venue.
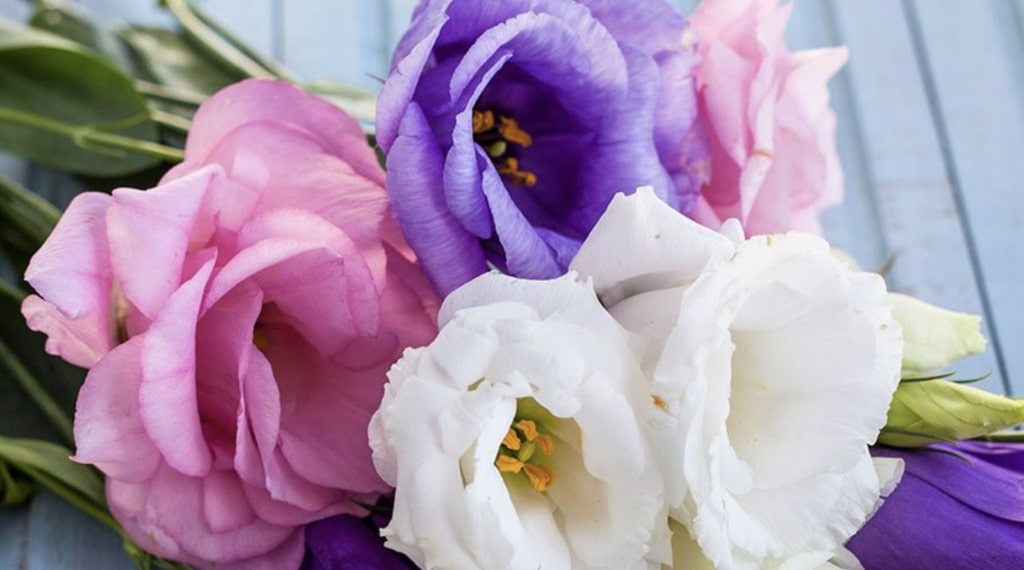
It could be roses, peonies, sunflowers, ranunculus, chrysanthemums, or other flower varieties. Note that each flower carries a special meaning in terms of its colour.
Generally, red means love and passion, yellow means cheerfulness and friendship, pink means affection and thoughtfulness, purple means royalty and spirituality, and white means innocence and purity.
6) Add small flowers, fillers, and greenery
Your main flower design is now complete, but since a wedding bouquet should be lush and rich, you might have to diagonally add more flora and greenery.
They have many purposes, which is why this step is important. The add-ins can give height, shape, and fill the gaps of your existing bouquet so that it will look more complete.
A great filler is the iconic baby’s breath which looks like a tiny, growing snowy tree. Another is small roses and carnations called sprays and the lovely ball-shaped pom flowers.
On the other hand, those that can add height include the amazing snapdragons, unique bells of Ireland, and vibrant delphinium orchids.
7) Do the finishing touches

Double-check the design to see if it is exactly as you want. If not, make the necessary changes or add flower fillers and greenery to close gaps and hide the flower stems.
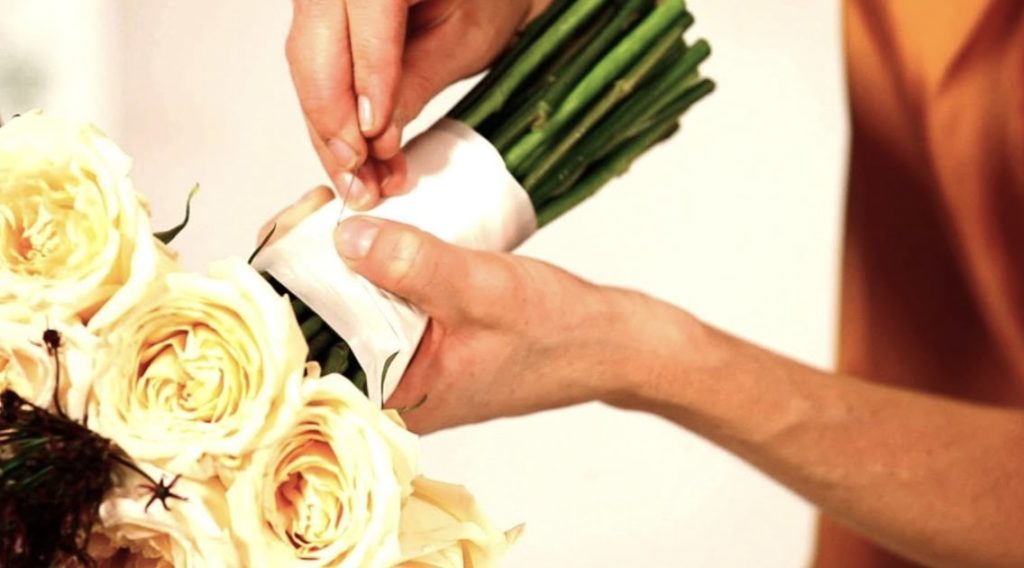
Once done, tie the stems with a floral wire or rubber band and cut about 5 to 10cm of floral tape to cover it up.
Also, you can add a lovely ribbon if you want, but secure it with floral pins so that it stays in place.
Try to reduce your waste as much as possible to reduce your impact on the environment, especially, if you’re making more than one bouquet at home.
8) Trim and freshen the bouquet
Finally, trim the stems below the tape which can be roughly 7 to 15cm afterwards. Then, put the bouquet on a vase with water that won’t go above the lowest part of the floral tape.
Congratulations, you now have a perfect DIY bouquet for your wedding. It’s a product of your hard work and creativity so you deserve to take a photo of it and enjoy it!

